28/6/2014
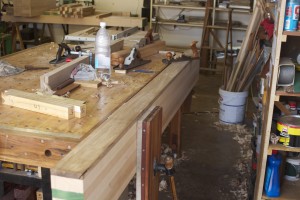
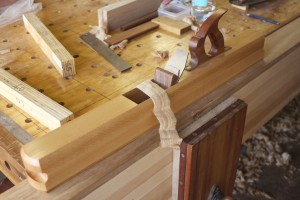
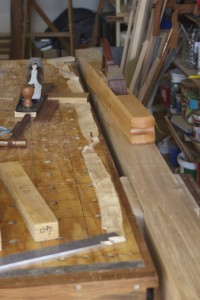
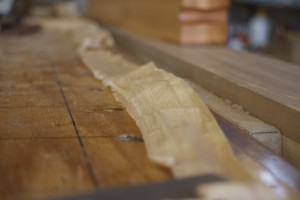
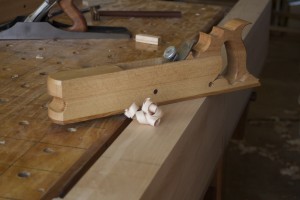
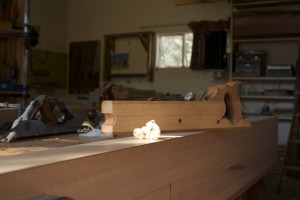
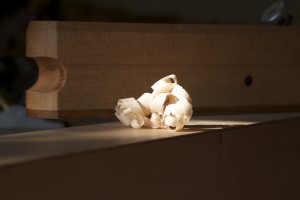
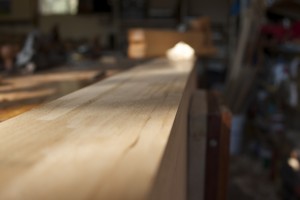
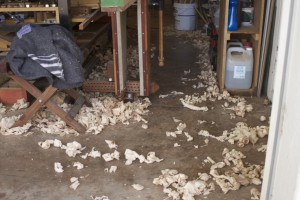
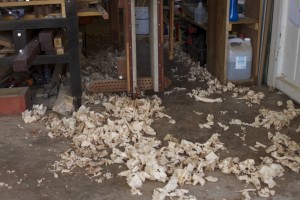
I went through the same motions with the other side of the top. You can see in some of the pictures what beautiful full length shavings I produced with my shop made jointer.
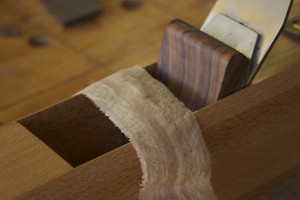
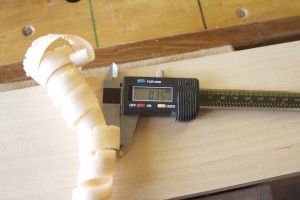
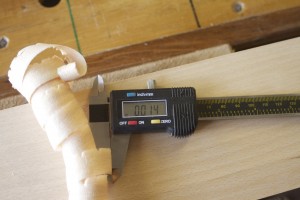
In order to remove the bulk of the material on the opposite edge, I first used my shop made scrub plane as a very aggressive fore plane (with the grain). You can see the shavings produced by the heavily cambered blade (3″ radius), measured 0.35 mm (0.014″) in thickness. It made short work of the waste that needed to be removed.
Again, just some evidence of all the heavy hand planing that I have been engaged in for the past few weeks.
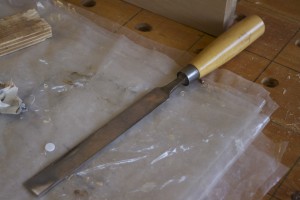
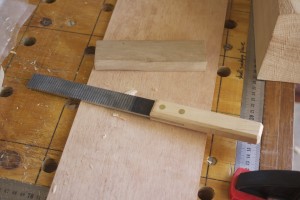
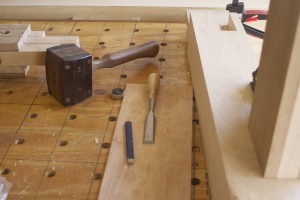
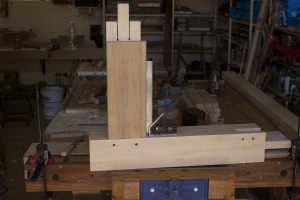
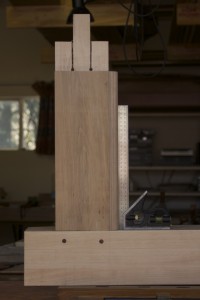
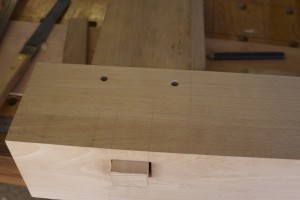
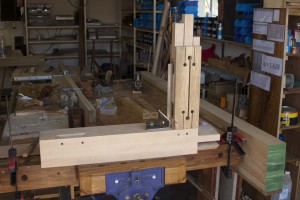
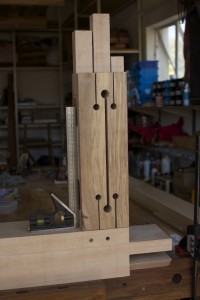
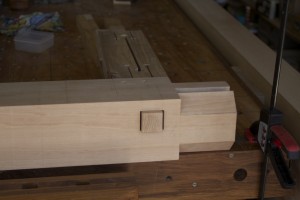
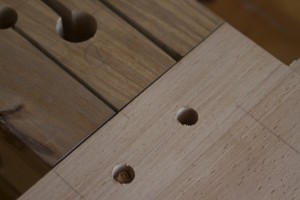
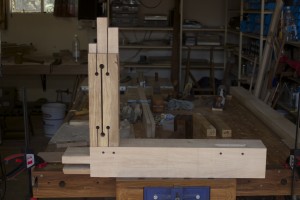
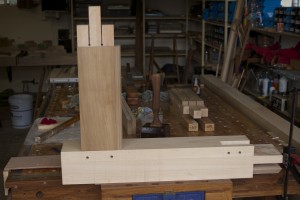
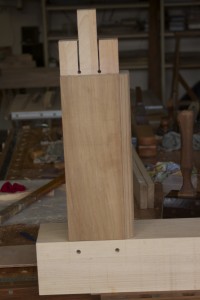
I finally returned to the mortises and tenons of the aprons and stretchers. It all needed some TLC to fit together perfectly. I used a float and a few chisels to do the fine tuning. I have to say that for a first attempt at such massive joints it all came together splendidly. You will notice the gaps at the top and bottom of the through tenon/mortise created to except wedges.
